Converting to an Android App
<Creating an apk file>
1 Overview
From this version, games created using RPG Maker MV will now be played using browsers which support HTML5 technology such as WebGL & 2DCanvas, WebAudio and JavaScript. There is also continued support for HTML5 in recent browsers for Android, allowing users to enjoy playing games made using RPG Maker.
Rather than explaining how to play using a browser, we will explain in this section how to play your game as an Android application. Running an HTML5 game as an application using an Android device is similar to running a game as an Android application using a browser that supports HTML5. This method of development of running a web application as a native application is known by such names as "Hybrid App", and is popular from the fact that it can be run on cross-platforms.
Browsers which package games as apps are "Browser Engines" which handle the Web display and sounds, and have Android built-in (called WebView). However, browser engines with Android built-in seem to be lagging behind a little when it comes to supporting HTML5. Because of this reason, we will be giving instructions which use a technology called "Crosswalk Project" that uses the Chrome browser which has a high level of support for HTML5.
A similar explanation to the explanation found on this page can be viewed on the Crosswalk Project website so please check it out. ([Crosswalk Project on Android]).
Operating Systems
The work environments used for this explanation will be Windows 8.1 and OS X 10.10. Additionally, the computer used to do your work will be referred to as the "Host PC".
2 Prepare the Packaging Environment
Installing games created using RPG Maker on Android will require creating an apk file. An apk file is the installer for Android apps and its extension is apk. This is compressed in a ZIP format, and contains various necessary files for running the application. We will refer to creating the apk file here as "Packaging".
Also, an Internet connection is required to download some of the necessary developer tools.
2-1 Python Installation and Setup
A packaging script is provided in Crosswalk Project so that you can easily package your game. This is made using a scripting language called "Python" so we will set up an environment where Python can be run. This section explains how to install Python on Windows but Python is already installed with OS X so there is no need to install it. Please proceed to 2-2.
2-1-1 Downloading & Installing Python
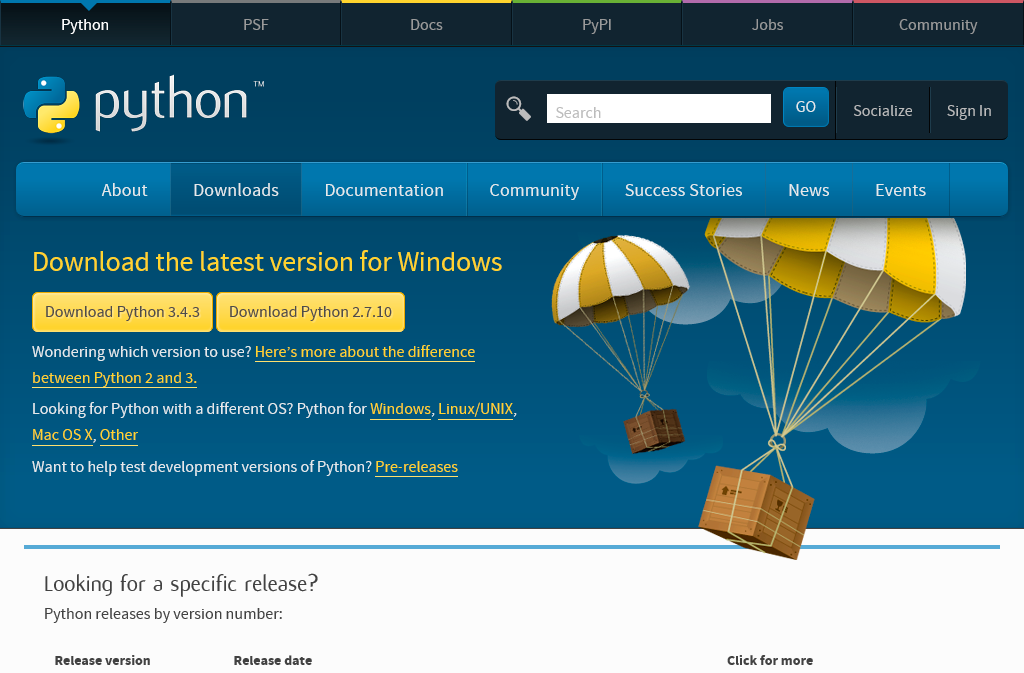
Start downloading the installer which can be found on https://www.python.org/downloads/. It is not particularly necessary to change any of the items during installation if they are not necessary, but it is a good idea to check where you are installing Python.
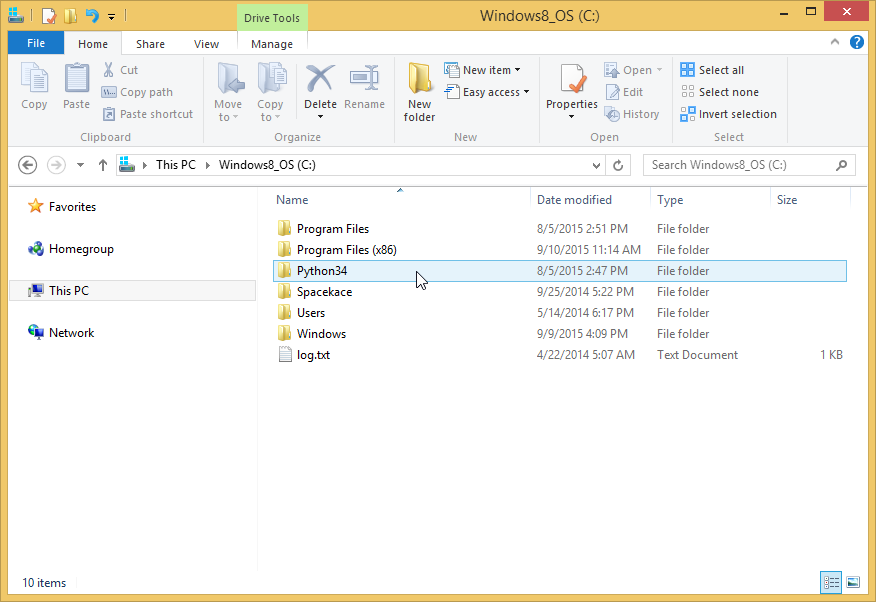
Python has been installed to C:\Python34.
2-1-2 Path Setup & Check
The path will be set to C:\Python34 where Python was installed so that Python commands will be easier to use.
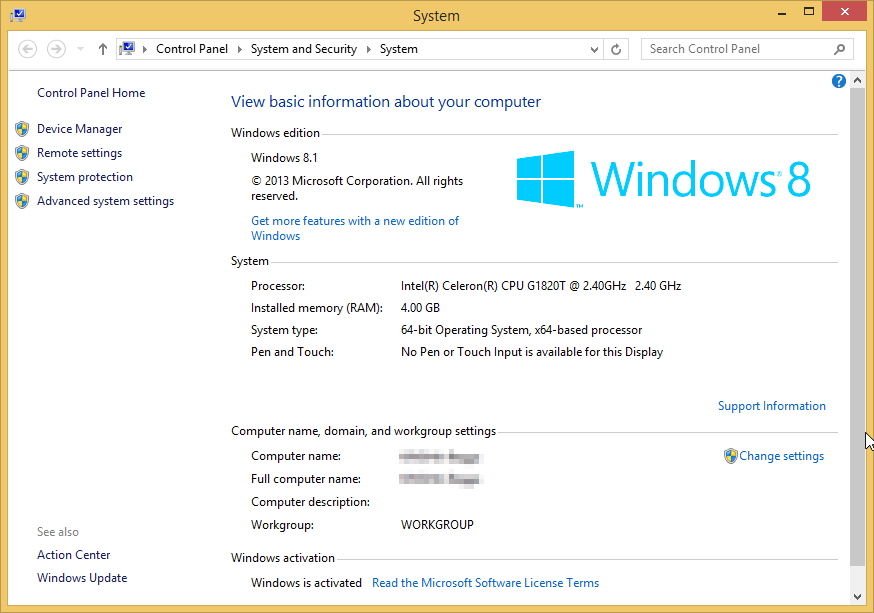
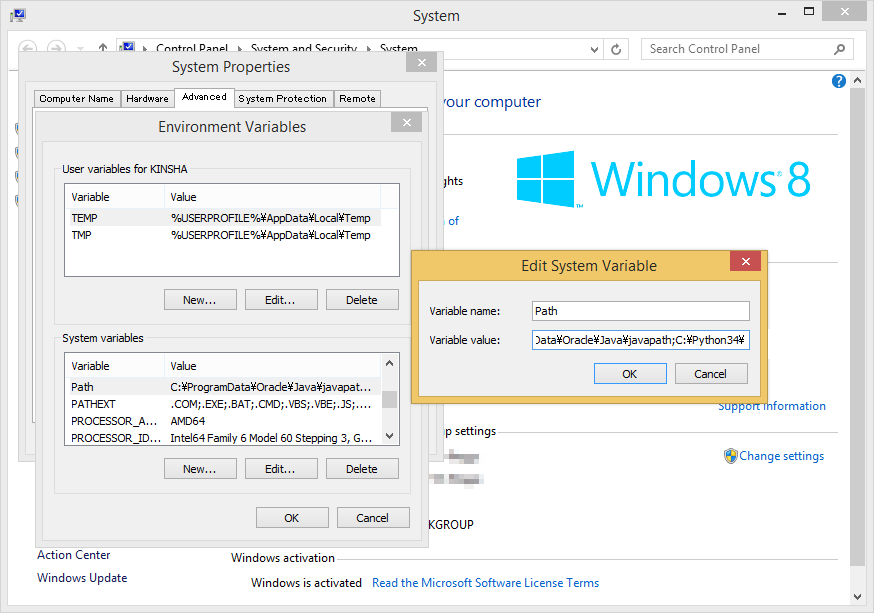
Right-click "This PC" and open up [Advanced system settings] from [Properties].
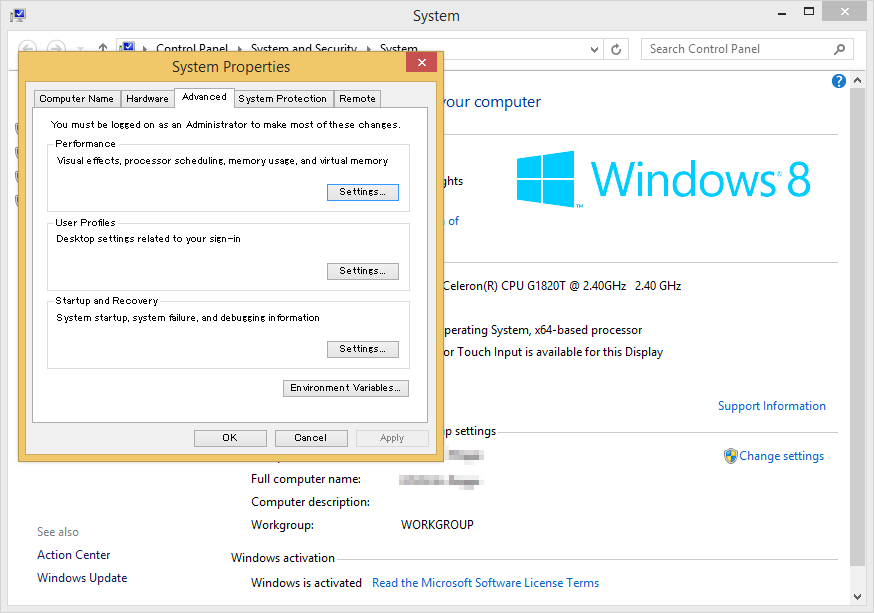
Click [Environment Variables] in [System Properties]. Select [Path] under [System Variables] and click the Edit button.
Edit the variables. Adding ";C:\Python34\" to the end of the original string will allow the path to be used (the semicolon is a break character).
;C:\Python34\
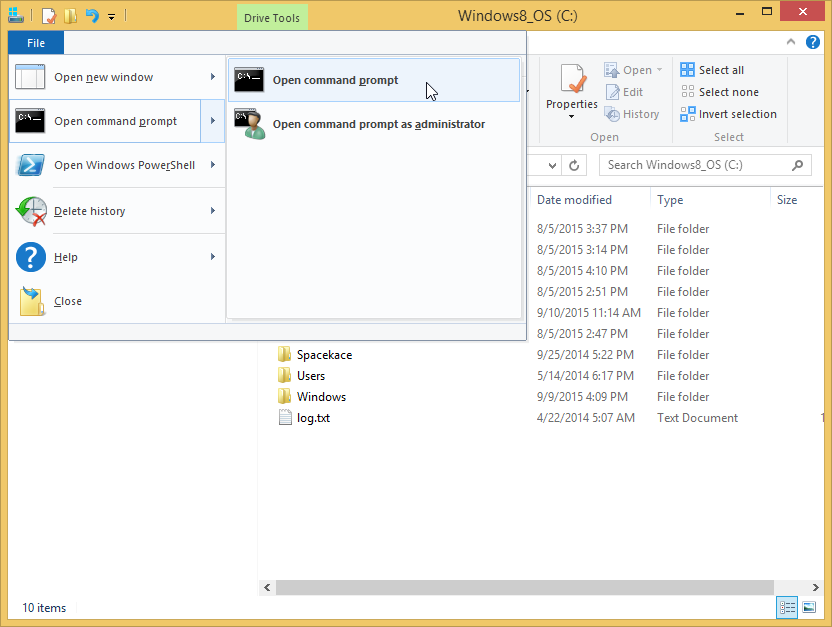
Confirm using command prompt. When using Windows 8.1, open the C drive in the explorer, and select [Open command prompt].
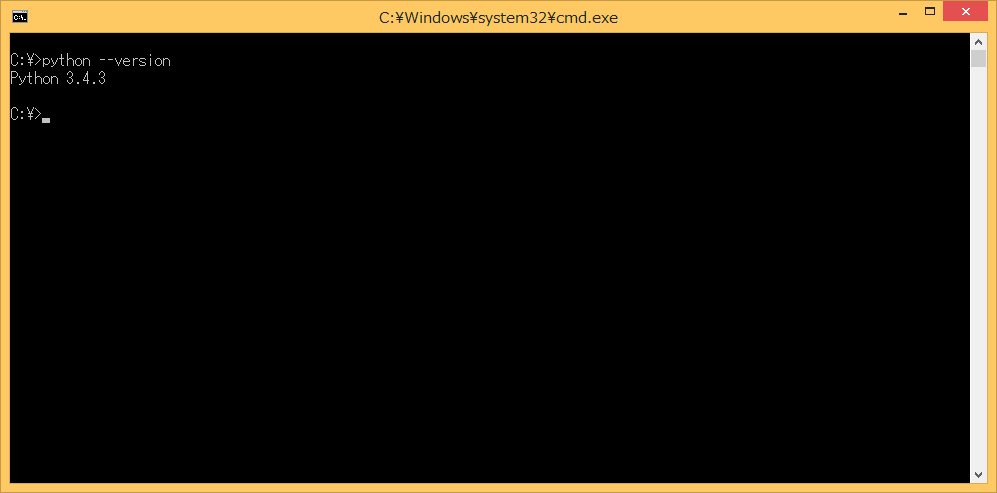
Enter "python --version" command and press the Enter key. If the version of Python is displayed, that means there is no problem.
> python --version
2-2 Installing & Setting Up Oracle JDK
In order to run Android SDK tools and a tool known as "Ant," you will need JDK (Java Development Kit). This is current provided by Oracle. Since JDK has stopped being included in OS X from 10.6 and on, you will need to install it.
2-2-1 Downloading & Installing JDK
Download JDK from http://www.oracle.com/technetwork/java/javase/downloads/index.html. The newest version of JDK is Java SE 8u51 as of August 2015.
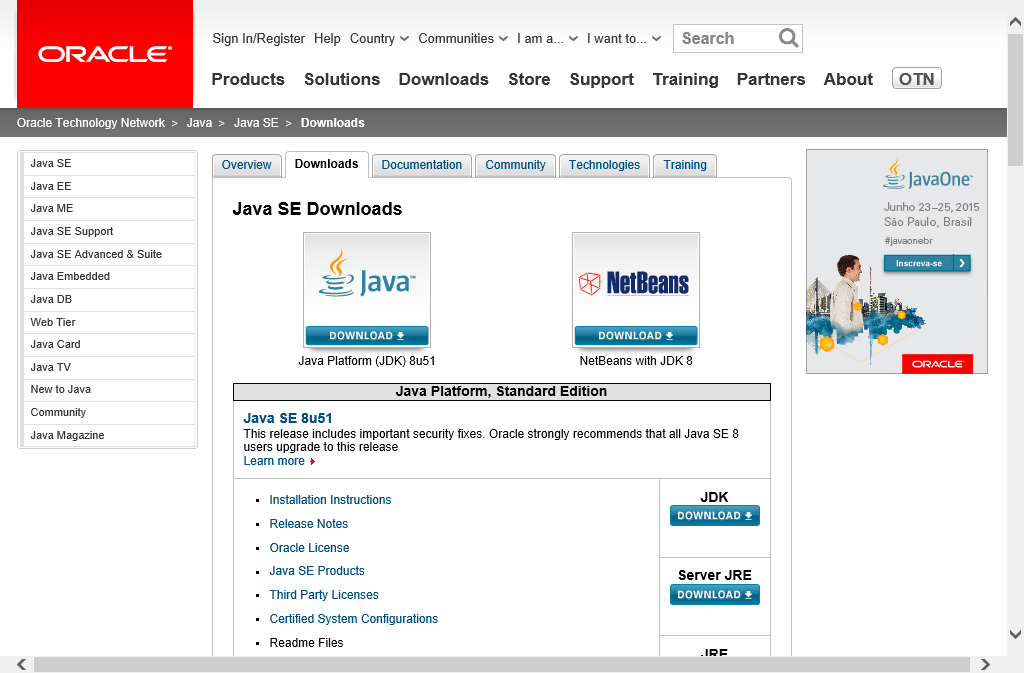
Download the version which is appropriate for your system. There are two versions for Windows, 32-bit (Windows x86) and 64-bit (Windows x64), so be sure to choose the correct one.
Select "Accept License Agreement" using the above radio button.
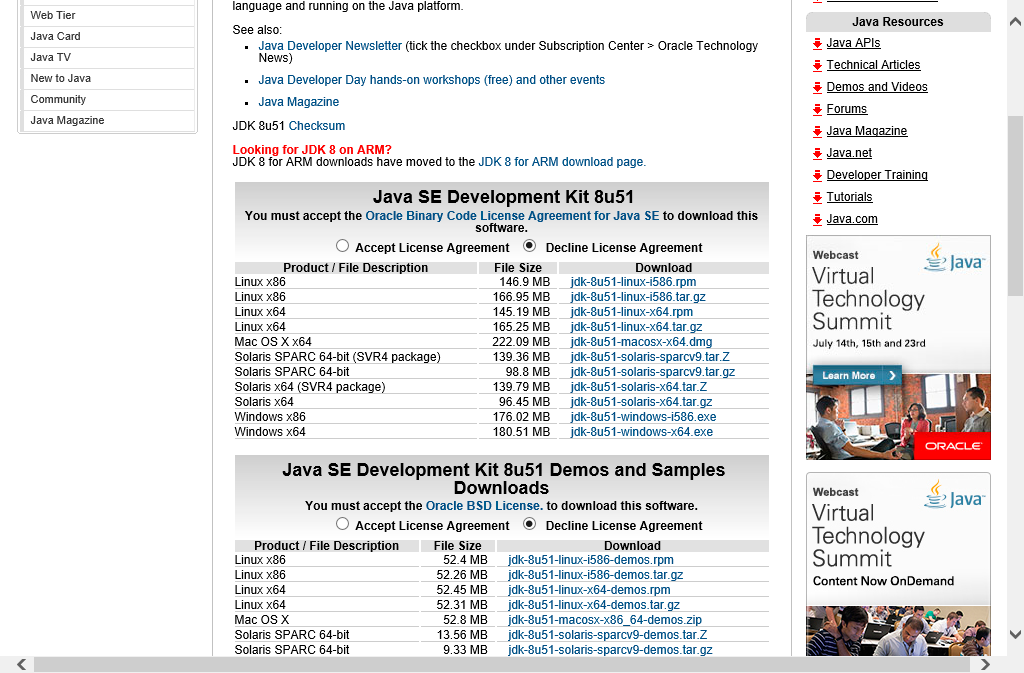
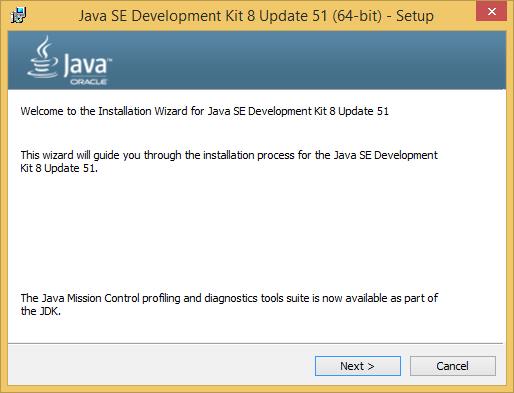
Run the downloaded installer to install Java SE Development Kit. You do not need to change any of the options.
2-2-2 Configuring and Checking Environment Variables & Path
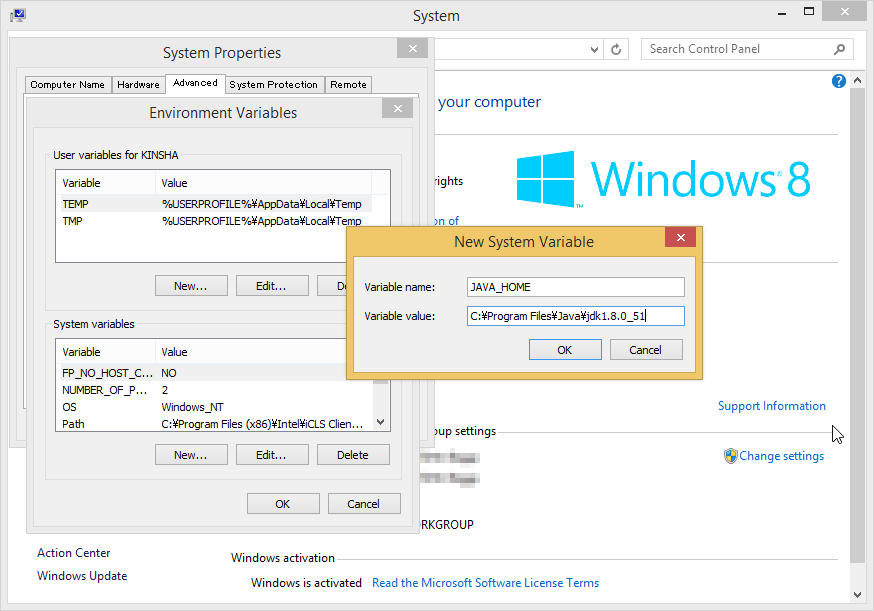
We will set up the JAVA_HOME Environment Variable. Just as you set up the path for Python in 2-1-2, open [System Properties] and click the [New] button in [Environment Variables].
Enter "JAVA_HOME" for the variable name and input the installation location for JDK for the variable value. The variable here was set to C:\Program Files\Java\jdk1.8.0_51.
JAVA_HOME
C:\Program Files\Java\jdk1.8.0_51
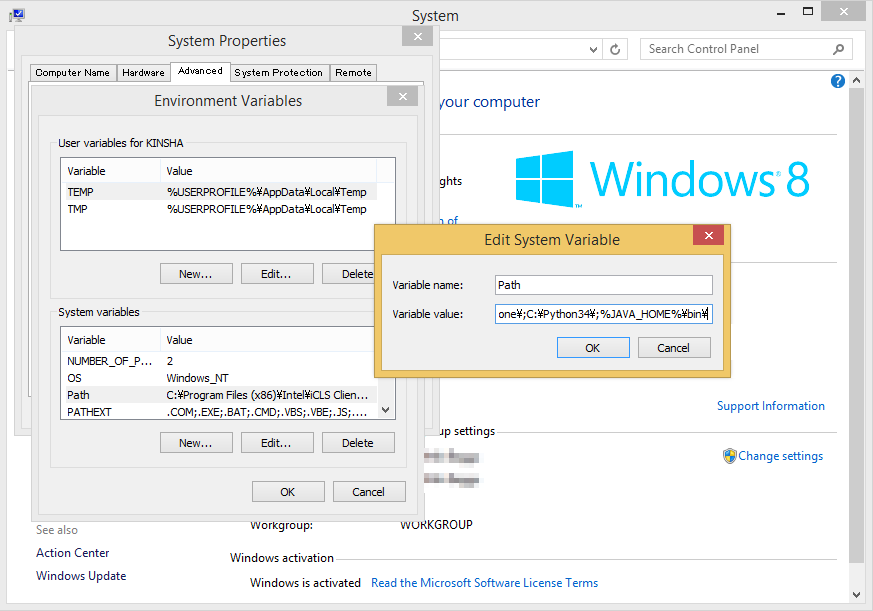
This creates the path. Select [Path] under [System Variables] and click the Edit button. Enter ;%JAVA_HOME%\bin\ following the value already entered.
;%JAVA_HOME%\bin\
Check the version using Command Prompt just as you did with Python.
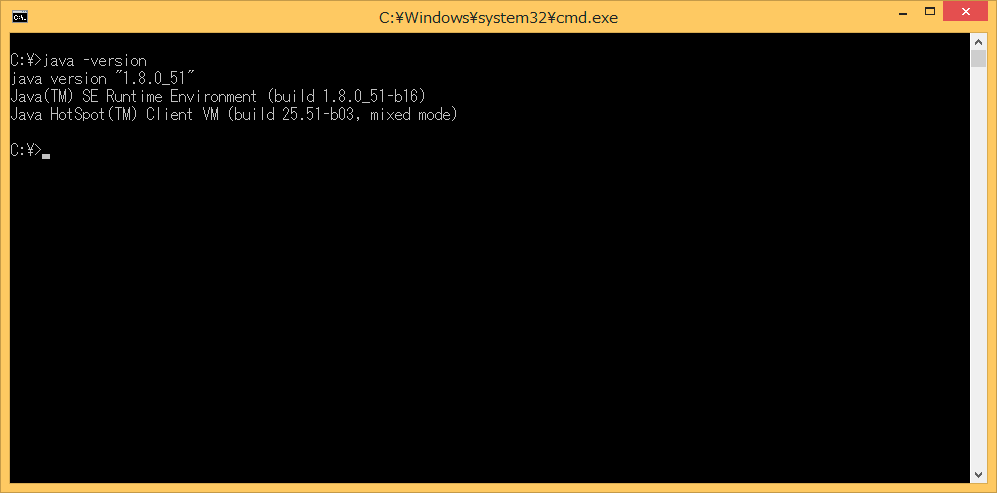
Enter "java --version" command and press the Enter key. If the version is displayed, that means there is no problem.
> java -version
2-3 Installing and Configuring Apache Ant
Ant is known as a build tool that is run using Java. It is utilized internally using a packaging script. You need to install Ant on both Windows and OS X.
2-3-1 Downloading & Installing Ant
Download the Ant binaries from http://ant.apache.org/bindownload.cgi.
Download the [.zip archive:] found under the [Current Release of Ant] section. The newest version of Ant is 1.9.6 as of August 2015.

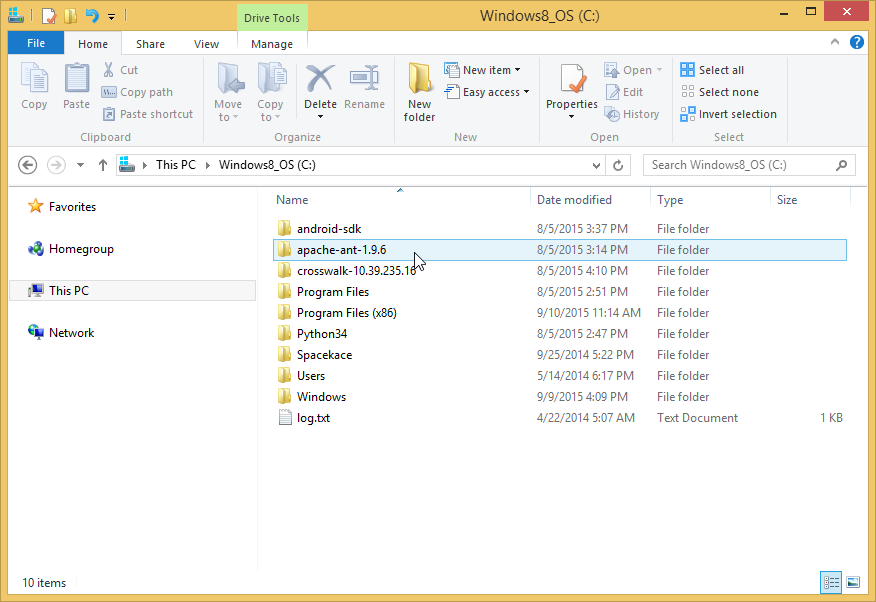
The file you downloaded is a compressed ZIP file so extract it in a location of your choosing. In this example, Ant was extracted directly to the C drive.
2-3-2 Configuring and Checking Environment Variables & Path
Here we will set up the path and environment variables for Ant. Just as when we set up the path to Python in 2-1-2, open the Environment Variables window.
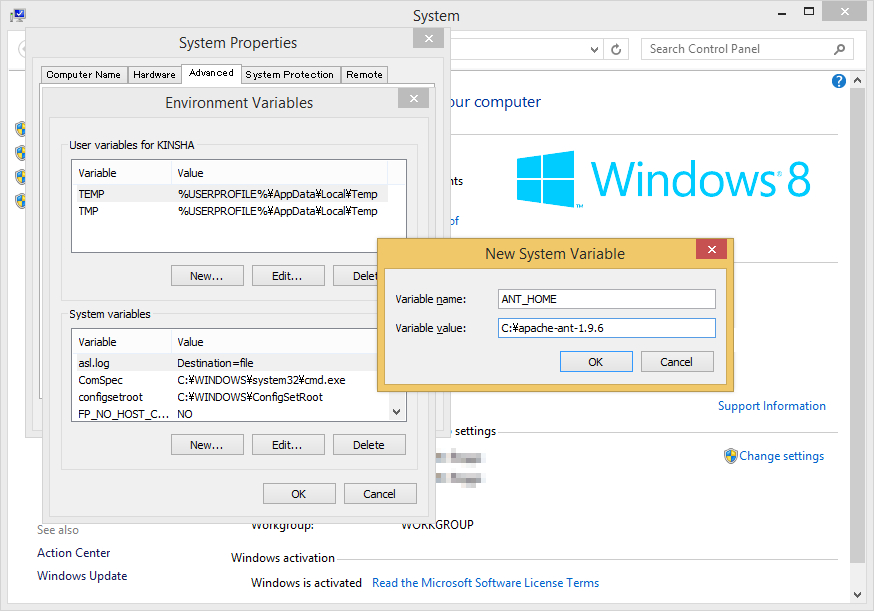
First, we will configure the ANT_HOME environment variable. Click the New button under System Environment Variables, and enter [ANT_HOME] as the variable name and the path where Ant was extracted as the variable value.
ANT_HOME
C:\apache-ant-1.9.6
This creates the path. Select [Path] under [System Variables] and click the Edit button. Enter ";%ANT_HOME%\bin\" following the value already entered.
;%ANT_HOME%\bin\

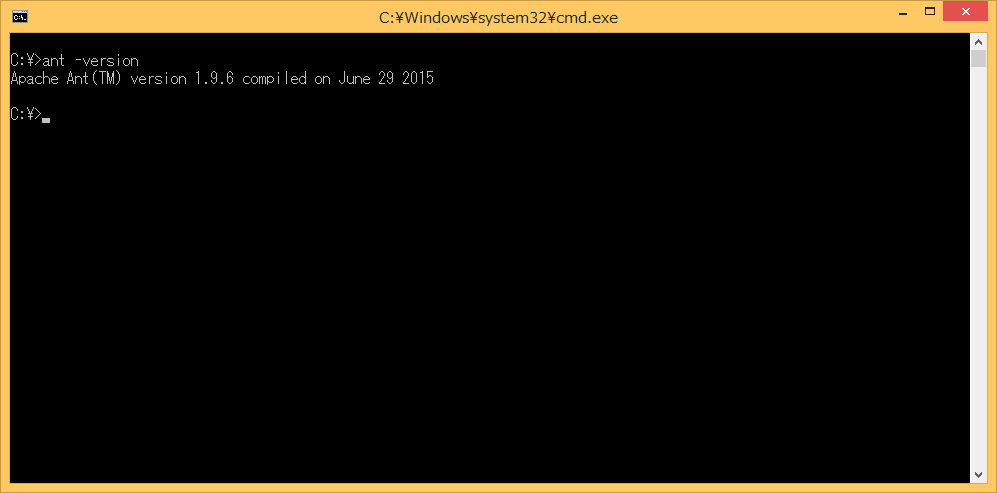
To check to make sure that the path is set up, use Command Prompt to check the version just as you have up until now. Enter "ant --version" command and press the Enter key.
> ant -version
2-4 Installing and Configuring Android SDK
SDK is short for "Software Development Kit" and just as the name says, this contains a kit for developing software. Necessary files for packaging and convenient tools for testing are included in the kit.
2-4-1 Downloading & Installing Android SDK
Download the Android SDK from http://developer.android.com/sdk/installing/index.html. In the SDK, you can find [ANDROID STUDIO], software for developing Android apps. However, here we will be using the [STAND-ALONE SDK TOOLS].
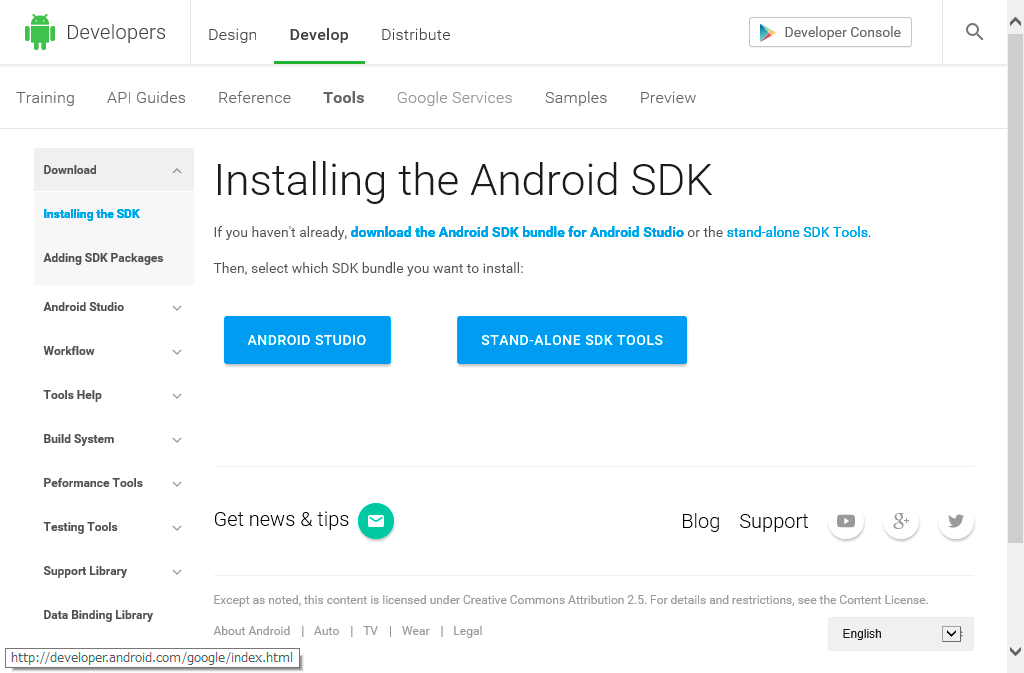
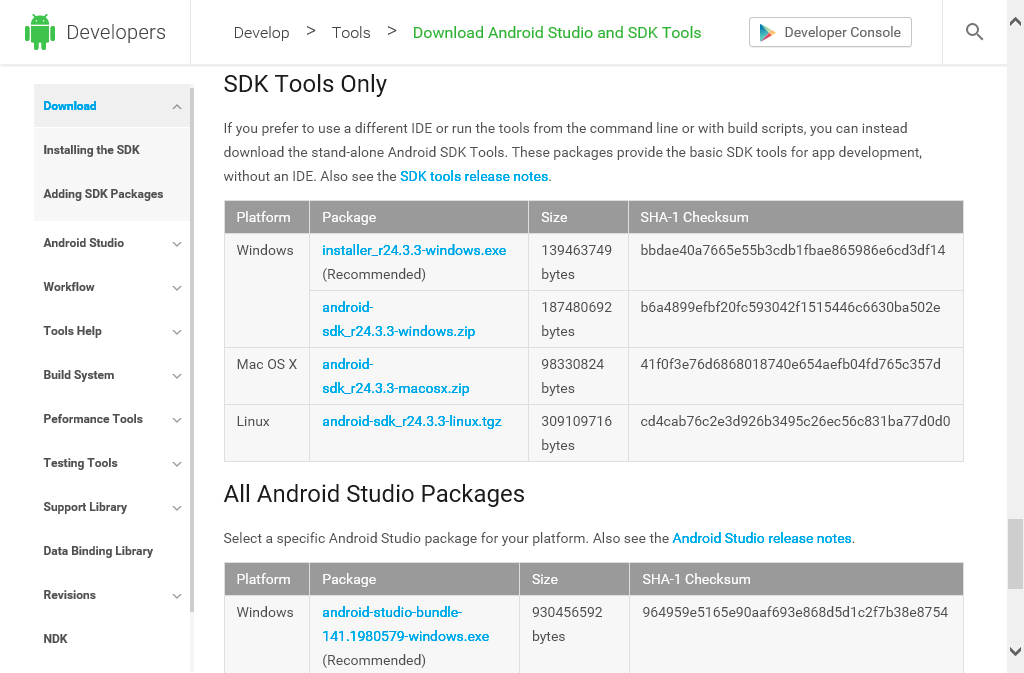
Select [STAND-ALONE SDK TOOLS] and click [Download the SDK now] in the page that is displayed next. The newest version of the SDK is r24.3.3as of August 2015. Download the installer (exe file) from here.
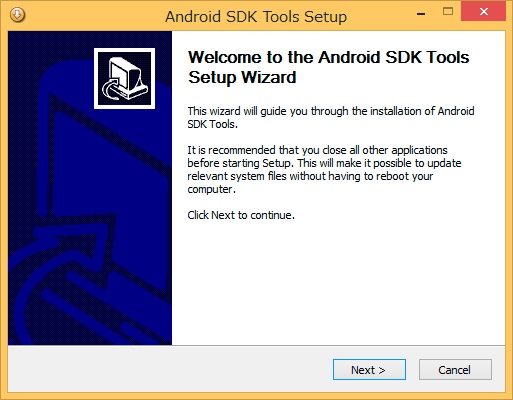
Run the downloaded installer to install the SDK.
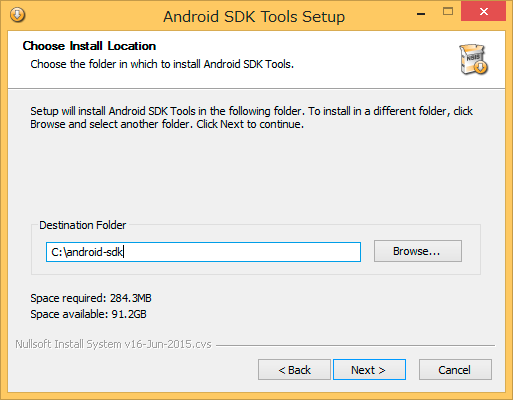
A screen where you will enter the location to install the SDK will eventually be displayed. Install directly to the C drive so that it is easy to find.
2-4-2 Downloading Additional Components Using Android SDK Manager
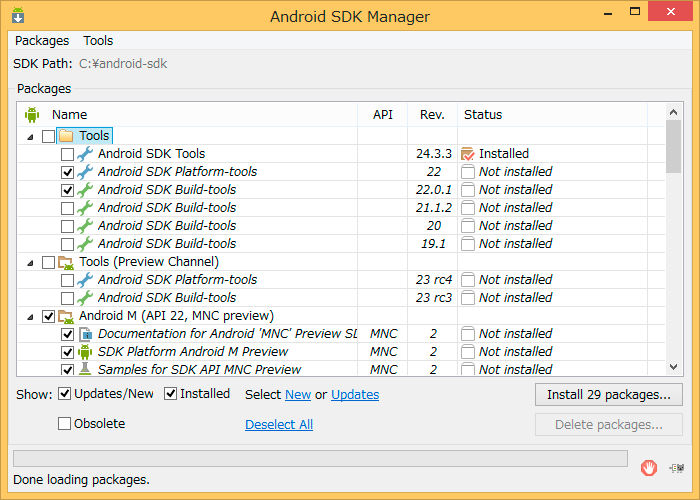
Only the bare essentials come with Android SDK right after installation. Here we will download some additional components such as platform-tools using Android SDK Manger. Android SDK Manger can be found in the start menu.
You can download necessary drivers for connecting devices to the host PC with USB through Android SDK Manager. If you're not sure which thing to download, you will get by with what is selected right after you run Android SDK Manager. However, be sure to select [Android SDK platform-tools], [Android SDK Build-tools] and the API (the newest version here is [Android 5.1.1 (API 22)]).
Also, it is probably a good idea to add [Google USB Driver] (mentioned later) in the [Extras] folder which makes it possible to install on to the device using USB.
- Android SDK platform-tools
- Android SDK Build-tools
- Android5.1.1 (API 22)
- Google USB Driver
*It is possible that the above tools are already selected on start up.
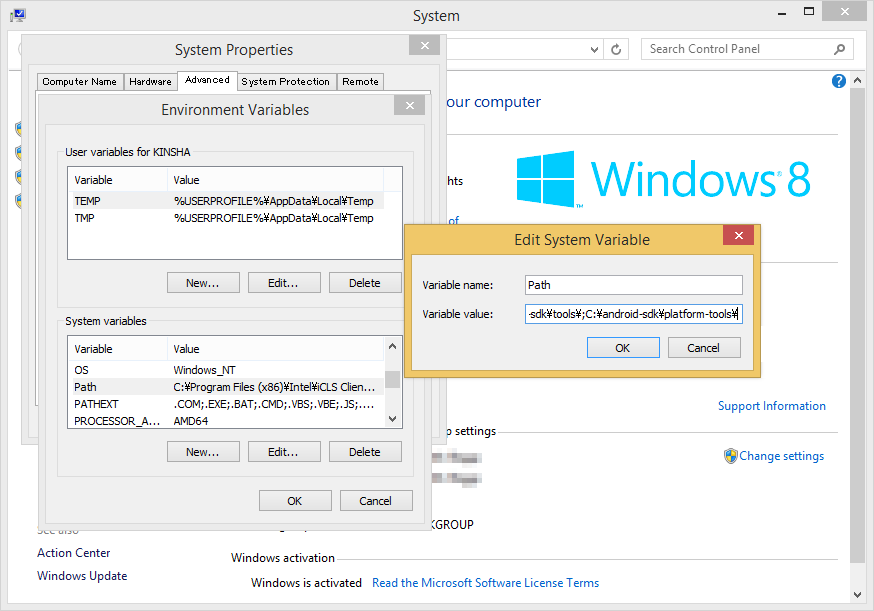
2-4-3 Path Setup & Check
Edit the System Environment Variable Path and add the location of Android SDK and the 3 locations for each tool.
;C:\android-sdk\
;C:\android-sdk\tools\
;C:\android-sdk\platform-tools\
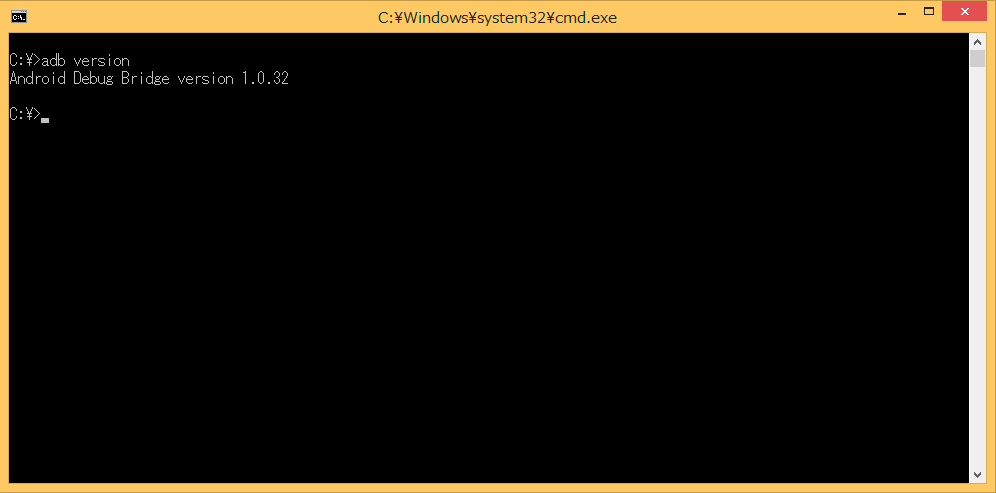
Check the Path. Let's try using the adb command here. Enter "adb version" into the command prompt and press the Enter key.
> adb version
2-5 Downloading the Android App Template for Crosswalk Project
You do not need to install Crosswalk Project. Extract the downloaded ZIP file wherever you like. Things such as the browser engine and packaging script are included inside the downloaded file.
Download the stable version of the Android app template from https://download.01.org/crosswalk/releases/crosswalk/android/stable/. Versions go all the way up to 14 but 10.39.235.16 is stable.
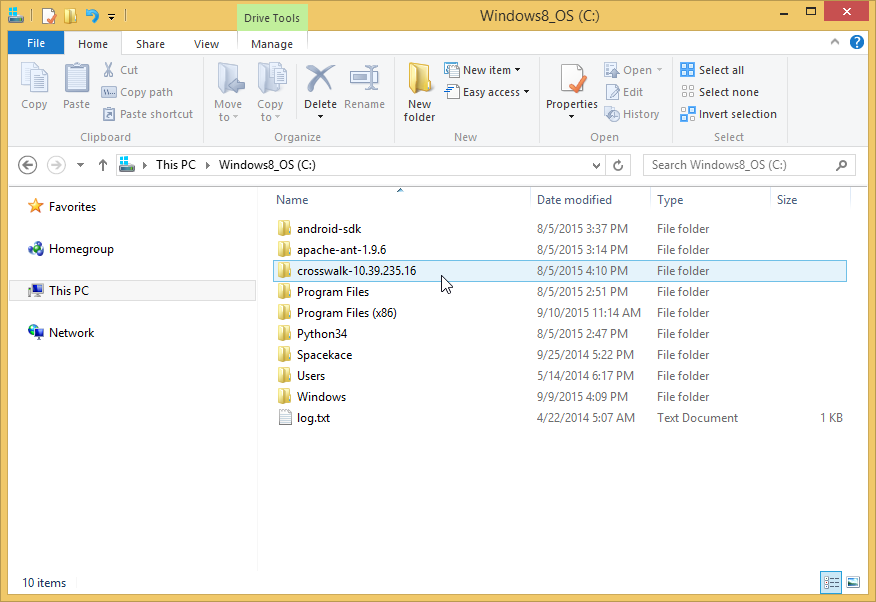
Click the folder and download [crosswalk-10.39.235.16.zip].
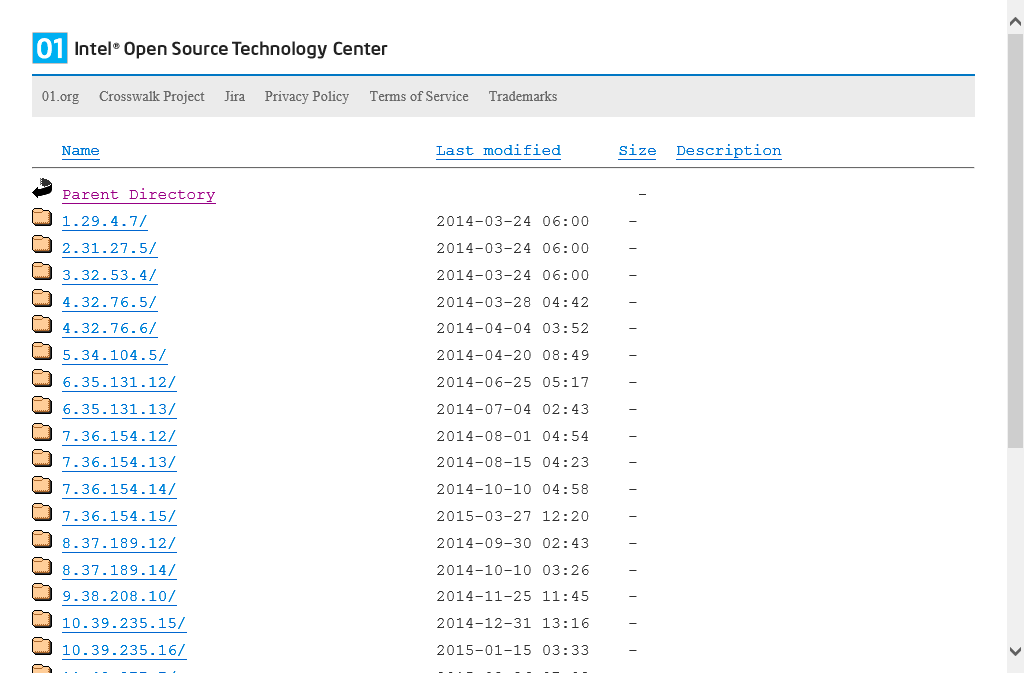
In this example, the file was extracted directly to the C drive.
With this, the packaging environment is now complete.
3 Deploying Games Using RPG Maker
Here we will export the necessary game data, assets and game engine to a package from RPG Maker. Select [Deployment...] from the File Menu and the deployment dialog will appear. If you select [Android / iOS] and export, all the files needed for Android packaging will be placed in the selected folder.
In this example, we deployed to the desktop.
4 Packaging
Packaging refers to creating the apk file which you allow you to install applications to an Android device.
4-1 Creating manifest.json
Let's create the manifest.json file using your preferred text editor which determines the actions in your game.
Below is an example of a manifest.json file.
{
  "name": "Sample",
  "xwalk_version": "0.0.1",
  "start_url": "index.html",
  "display": "fullscreen",
  "orientation": "landscape",
  "icons": [
    {
      "src": "icon/icon48.png",
      "sizes": "48x48",
      "type": "image/png",
      "density": "4.0"
    },
    {
      "src": "icon/icon72.png",
      "sizes": "72x72",
      "type": "image/png",
      "density": "4.0"
    },
    {
      "src": "icon/icon96.png",
      "sizes": "96x96",
      "type": "image/png",
      "density": "4.0"
    },
    {
      "src": "icon/icon144.png",
      "sizes": "144x144",
      "type": "image/png",
      "density": "4.0"
    },
    {
      "src": "icon/icon192.png",
      "sizes": "192x192",
      "type": "image/png",
      "density": "4.0"
    },
    {
      "src": "icon/icon512.png",
      "sizes": "512x512",
      "type": "image/png",
      "density": "4.0"
    }
  ]
}
Aside from the name and version number, everything else can be left as is.
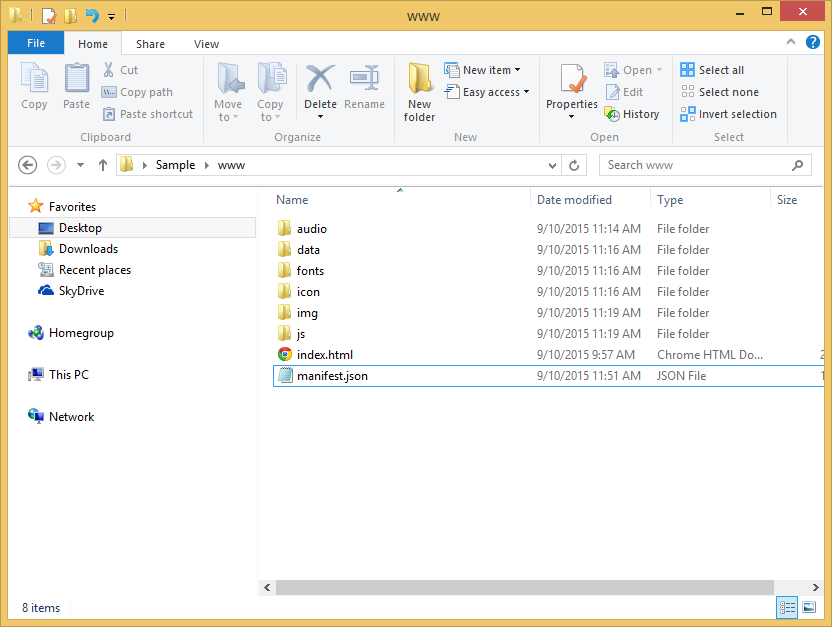
Save the manifest.json file in the "/www" folder which you deployed earlier.
The purpose of property names and values inside the file are as follows.
| Property name | Value |
|---|---|
| name | The game's name. |
| xwalk_version | Version number. Increase the number if there is an update. Be sure to follow the X.X.X version format. |
| start_url | The game's URL. This will be set to index.html. |
| display | Specifies the full screen setting. This will be set to fullscreen. |
| orientation | The orientation of the screen. This will be set to landscape. |
| icons | Icons |
Reference URL: Manifest for a web application: http://w3c.github.io/manifest/
4-2 Running the Packaging Script
Inside the Android app template that you downloaded in 2-5 is a file called "make_apk.py" which is a script that runs the packaging process. This is used through the command prompt.
Open the command prompt and move to the inside of the "/Game Name/www" folder (the below game folder) found in the folder where you deployed the game. It is more convenient if you open the game folder using explorer and open the command prompt from the file menu.
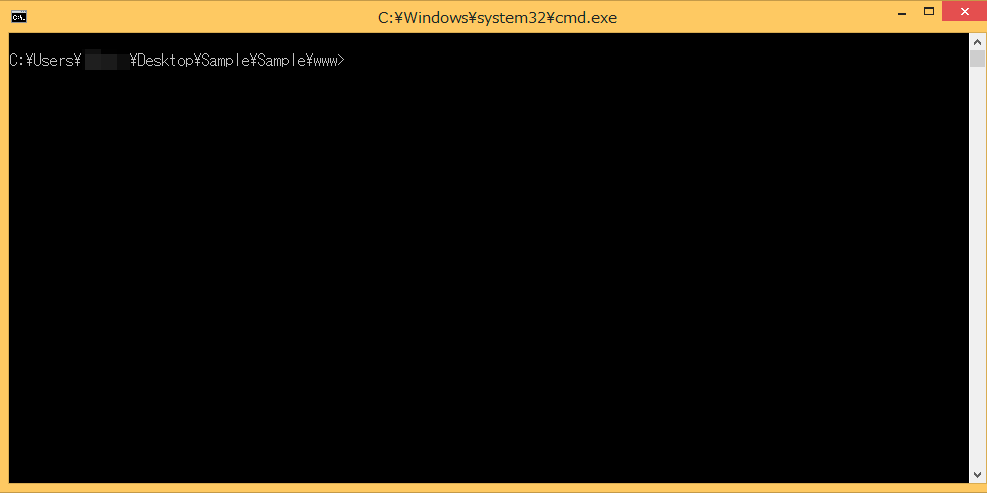
Below is an example of running the command on the environment we have just prepared.
python C:\crosswalk-10.39.235.16\make_apk.py --package=com.example.sample --manifest=manifest.json
The packaging script is written using Python. Using Python commands, we can specify the script.
- --package
- Specifies the package name. If you have a domain of your own, feel free to use it for your game. Just like the provided example, the domain name is used in reverse with the top level domain ("com" in the example) and is connected using a ".". Following at the end is your game's name ("sample" in the example"). You will use the package name used here forever for this game's package so please be careful.
* example.com is a domain that can be used temporarily. This cannot be published in the Play Store which will be explained later.
Domain example:
If the domain that you own is [example.com] and your game's name is [sample], you would write:
com.example.sample - --manifest
- This specifies this package's manifest file. It is possible to specify things such as the game's version, icon and behavior related to the running of the game with the manifest file.
If you run the command and the packaging finishes without an issue, a [BUILD SUCCESSFUL] message will appear.
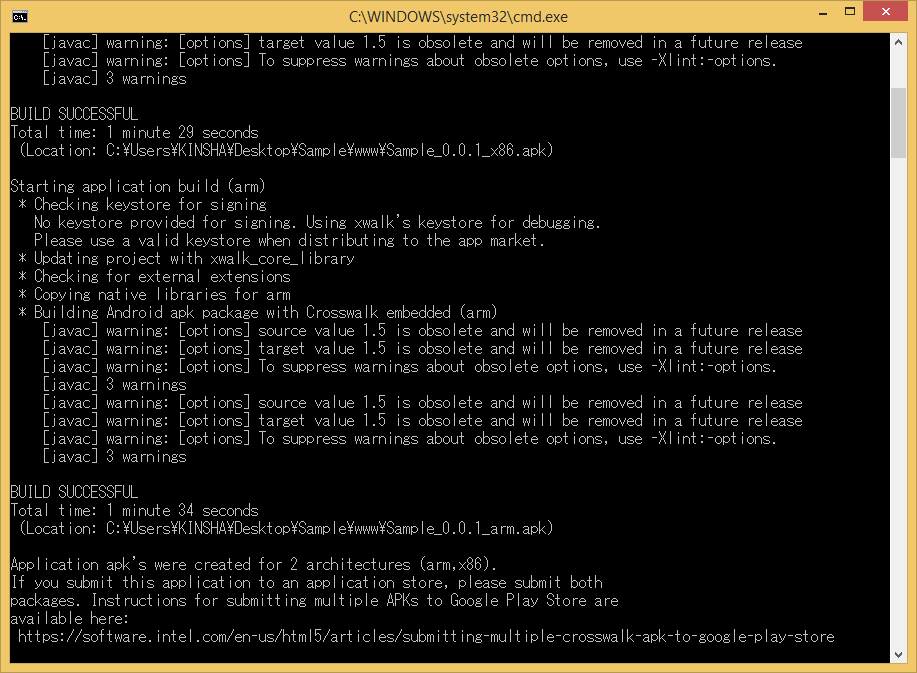
You can check that the two files, "Sample_0.0.1_arm.apk" and "Sample_0.0.1_x86.apk" have been created in the game folder. The file that contains [arm] is a package meant for the ARM architecture CPU which is a CPU widely used for implementation. This is used in the majority of Android smart phones and tablets currently in the market. The file containing [x86] is the package meant for the x86 architecture which is mainly used in computers.
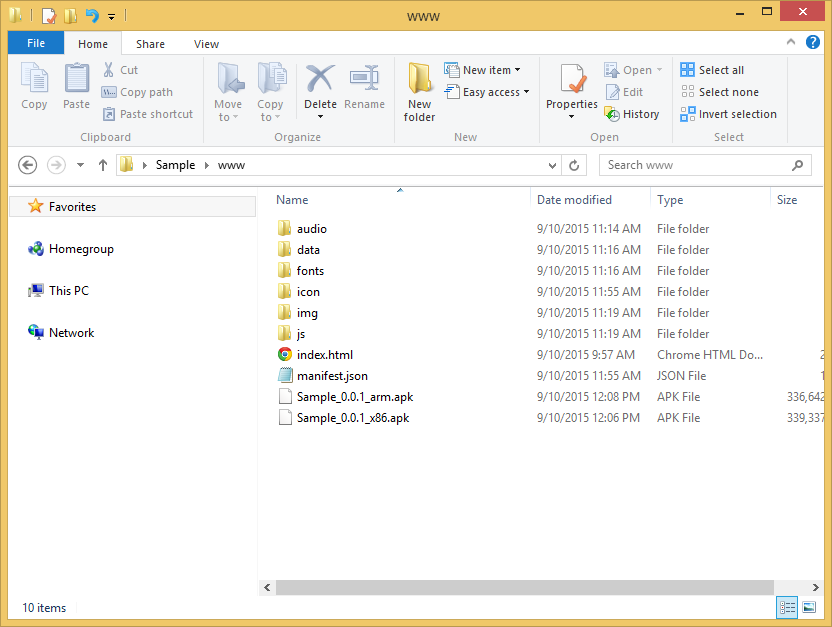
If you run the packaging script again, these two apk files will be included in the package so be sure to place the files outside of the folder.
4-3 Installing to the Device
4-3-1 Preparing an Android Device
In order to be able to install a package using an USB connection, you need to enable [Developer Options] on your device.
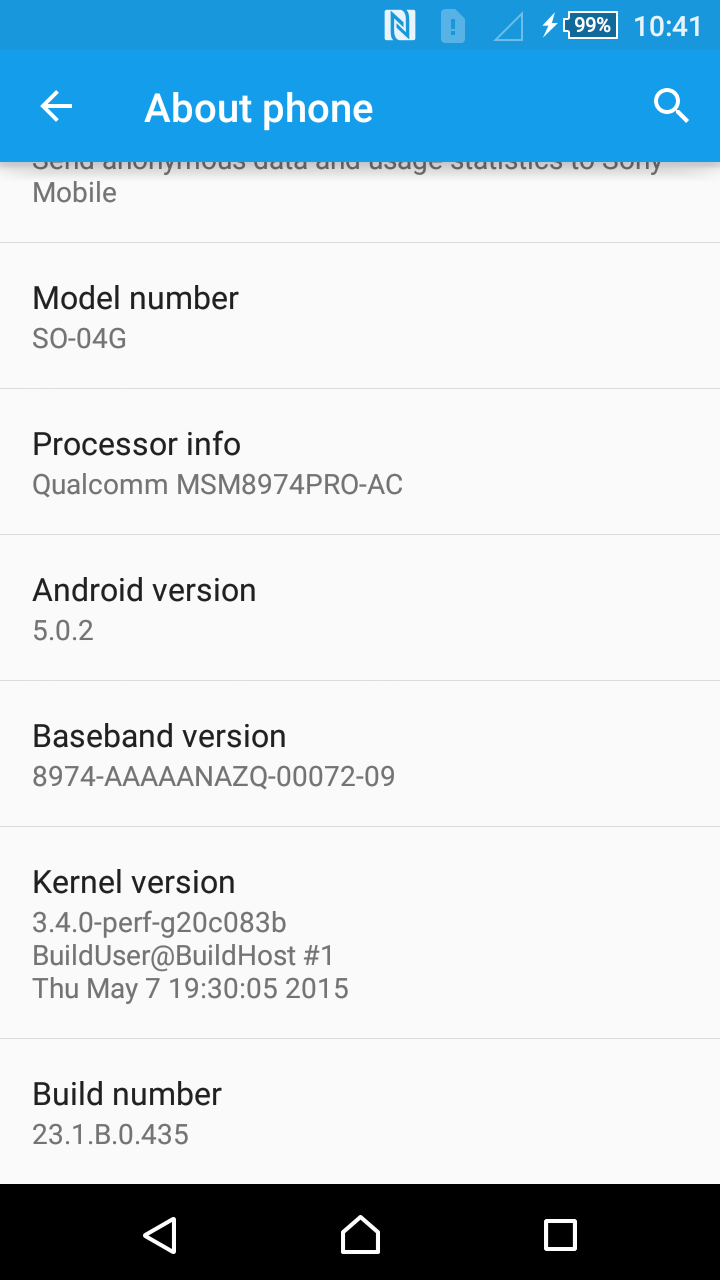
In order to enable [Developer Options] go to [Settings] → [About] → [Software Information] → [More], and tap the [Build Number] text 7 times.
*The location of the [Build Number] may vary depending on the device you are using.
Ex.) [Settings] → [About Device]
4-3-2 Installing Using an USB Connection
Here we will install the package using an USB connection. If you do not have the necessary USB drivers for your Android device on your computer, you can get them using the Android SDK Manager which was introduced in 2-4-3.
Connect the Android device to your PC using the USB cable. Be sure to use an USB cable that can be used for transferring data, not for recharging your device.
When successfully connect your device to your PC, a dialog will appear on your Android device asking you if you want to enable USB debugging so be sure to enable this.
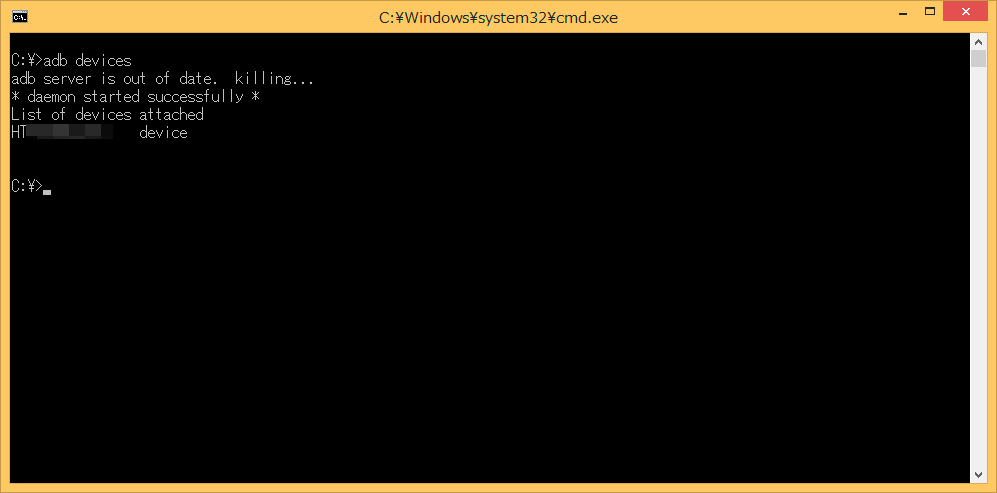
Enter "adb devices" into the command prompt and press the Enter key. If you have managed to connect the device, the device's name will appear.
> adb devices
We will use the "install" option from the adb commands to install the package. Enter "adb install -r Sample_0.0.1_arm.apk" and press the Enter key. The "-r" option is an option used for reinstalling but if the name of the package is the same, you can update the game.
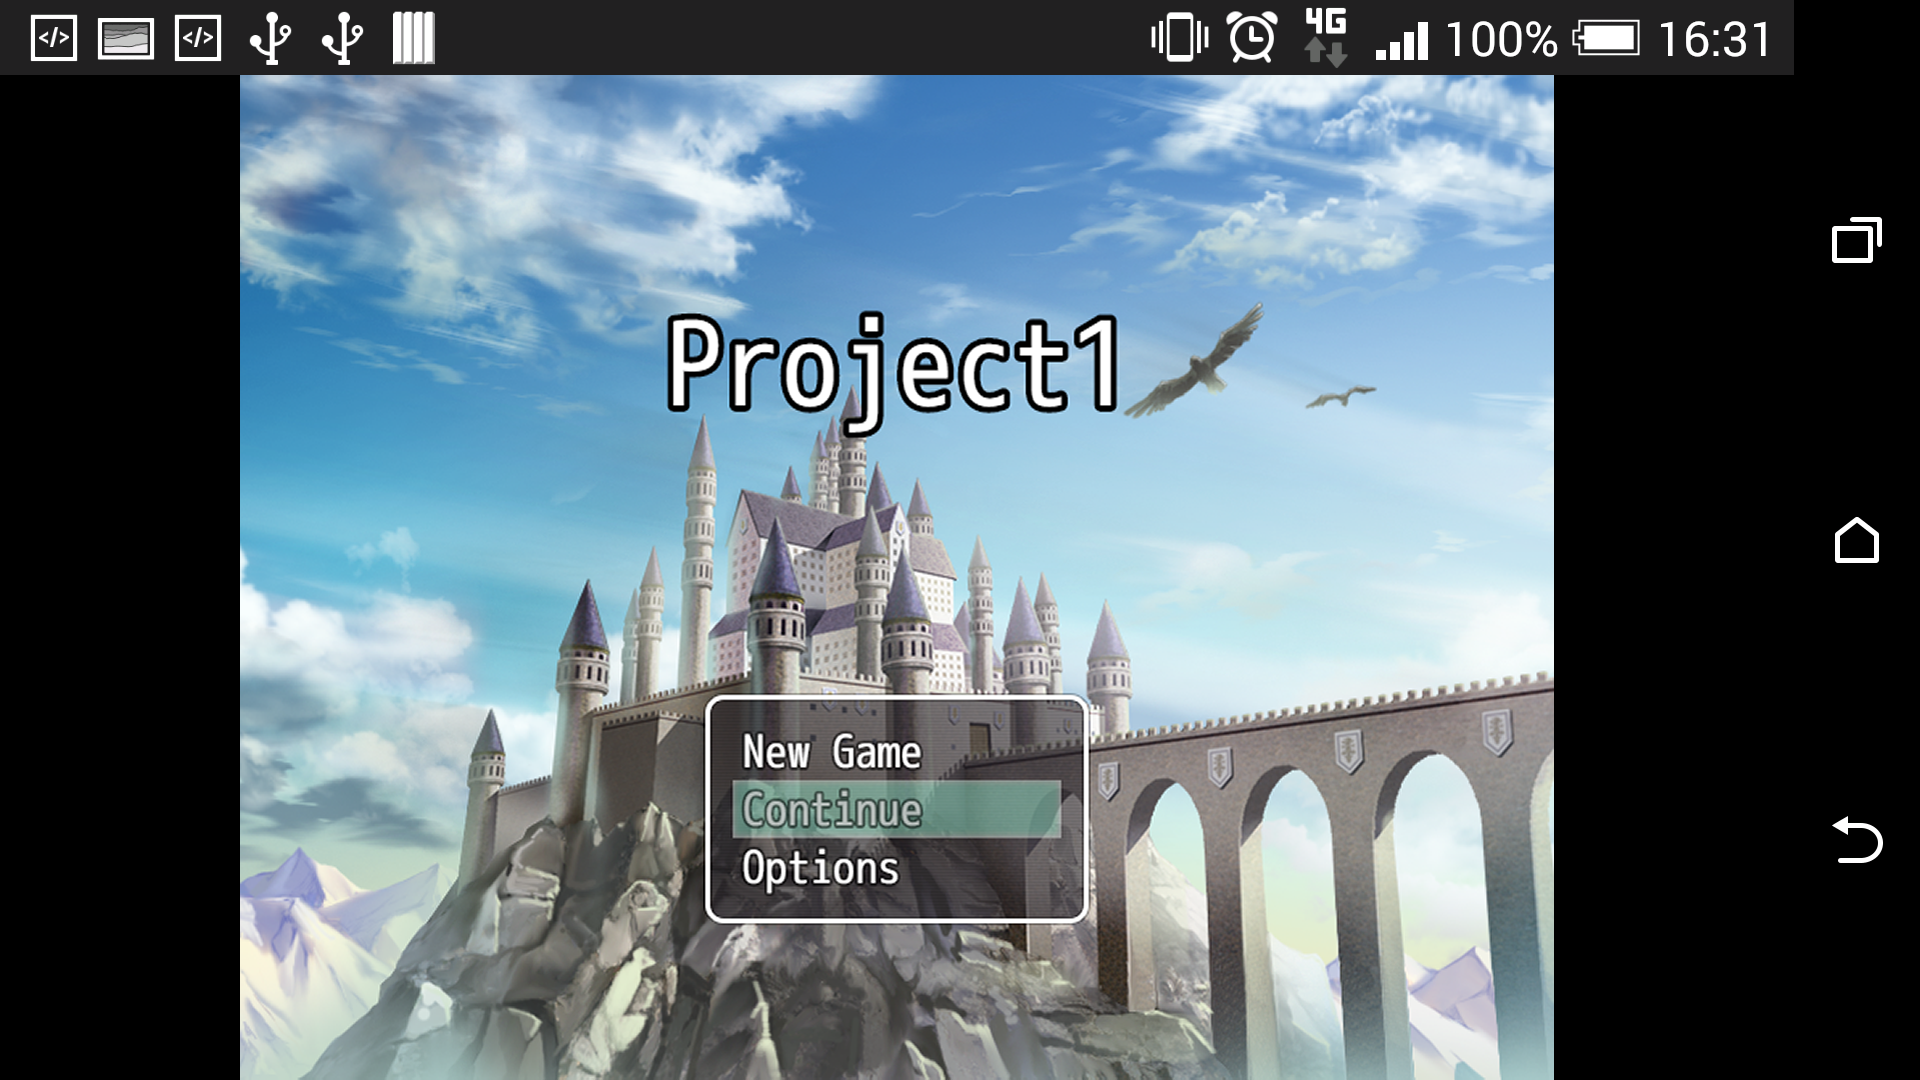
[Success] will be displayed once you've successfully installed the package. You will be able to run the game located in the list of applications on your device.
> adb install -r Sample_0.0.1_arm.apk
4-3-3 Installing via Internet
To use a cloud service such as Google Drive and installing via an Internet connection, you will need to upload the apk file to a cloud service of your choice and download and install using an Android device.
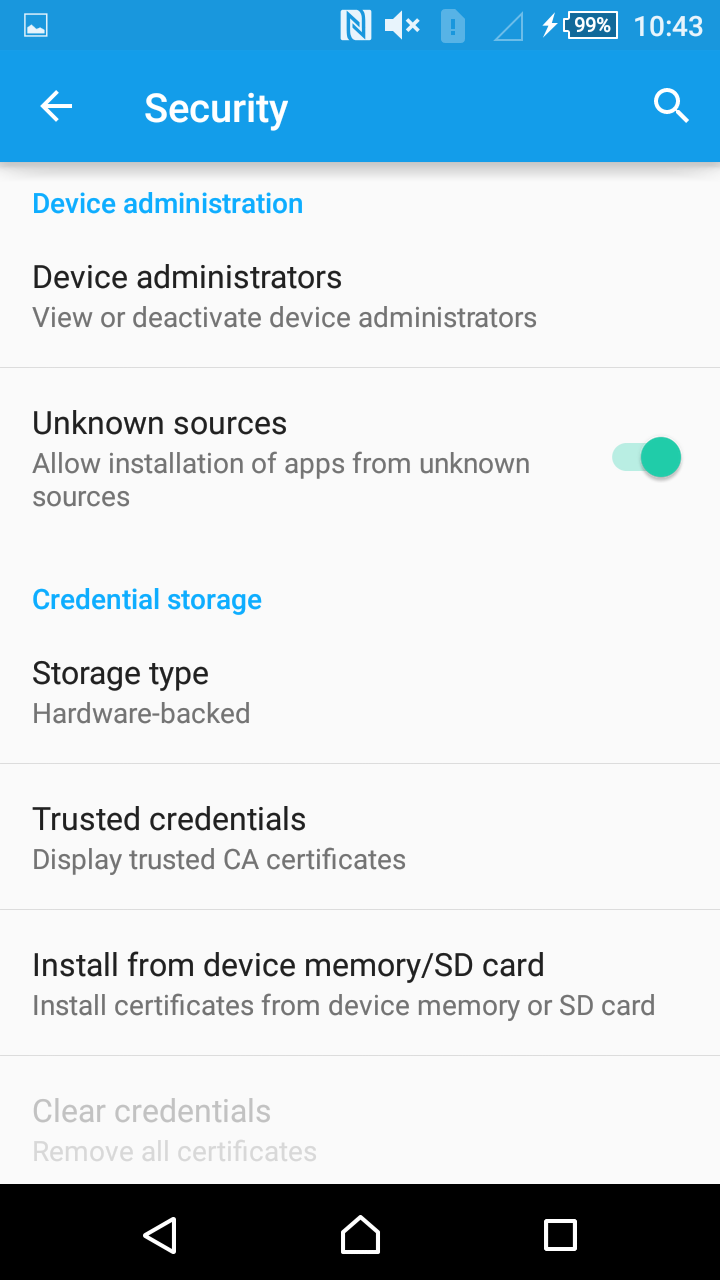
In order to do so you will need to set permissions to allow installations from unknown sources on the Android device. Do this by navigating to [Settings] → [Security] → [Unknown sources] and set it this on.
5 Publishing to Google Play
If you want to publish your game on Google Play, you will need to register on Google Play Developer.
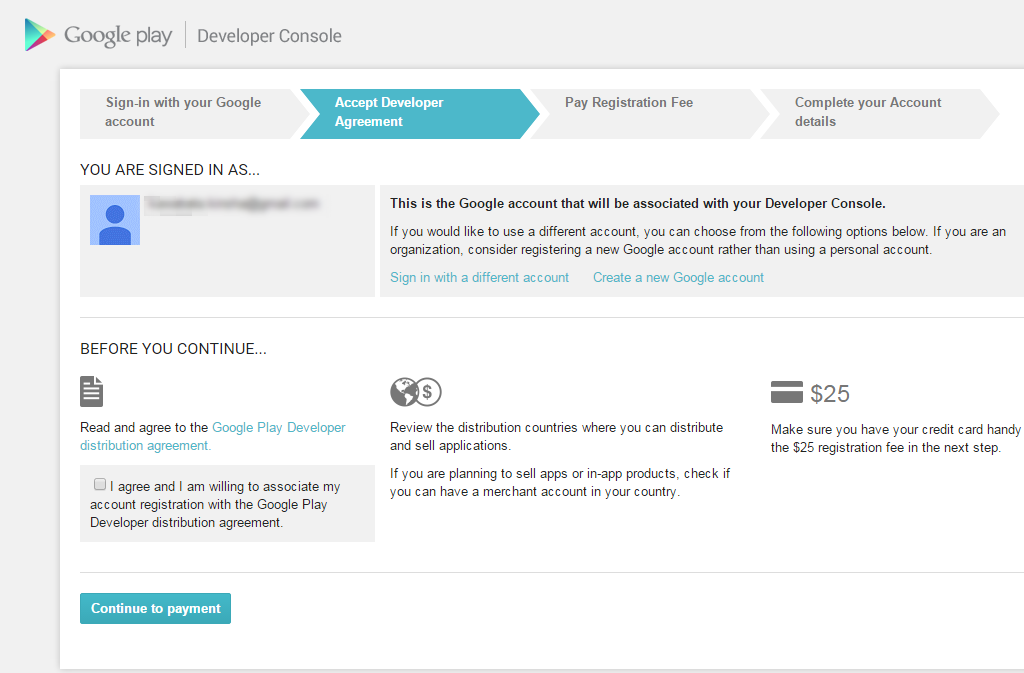
We unfortunately cannot explain here all there is to know about app development for Google Play. It is our recommendation that you refer to reference books and other sources of information in the market.
Here we have written especially important information.
5-1 Signing an App
"Signing" an app refers to including proof in a package that the [Source], or in other words, you are the one that developed the game. This is similar to adding your signature to a piece of art which you have painted. Unsigned apps cannot be published on Google Play.
There are several ways to sign an app, but on this page we will introduce a way to sign your app using the make_apk.py script.
5-1-1 Creating a Keystore File
A keystore file is a type of file which contains your passworded information and prevents a third party from freely using your app. Through doing this, you can guarantee that you were the one that developed your game.
You can manage multiple keys on the [Store] but one is enough for an Android package.
Furthermore, you can use the keystore file created here on the signatures of your other apps as well.
We will use the keytool command included in the JDK which installed when setting up your environment to create the keystore file. Below is an example of a command.
keytool -genkey -v -keystore sample.keystore -storepass password -alias release -keypass password -keyalg RSA -validity 10000
- -genkey -v
- Specifies to create a new key file.
- -keystore
- Specifies the name of the keystore file.
- -storepass
- Specifies the password for the store. In the example, we've used [password] but when actually creating a password, please set it to something that would be hard for a third party to figure out.
- -alias
- Specifies the alias of the key.
- -keypass
- Specifies the password of the key. In the example, we've used [password] but when actually creating a password, please set it to something that would be hard for a third party to figure out.
- -keyalg
- Specifies a passworded algorithm (here it is RSA).
- -validity
- Specifies the duration (in days) that the key file can be used. Set this to a long enough duration since the key file will continue to be used for things like updates.
After entering in a command and pressing the Enter key, you will be prompted to input the key information.
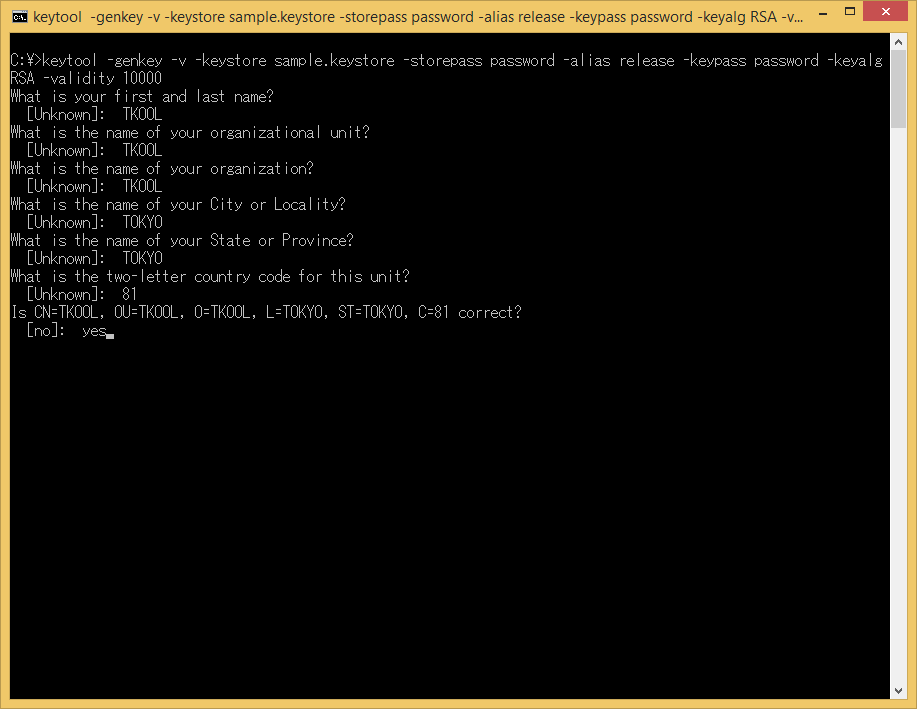
Please enter your own information that you have decided such as the name and organization name. Country code 81 refers to Japan.
If you are working in a <Japanese> environment, please enter <Yes> when asked <Are you sure?>.
A keystore file with the name "sample.keystore" will be created in the folder you opened using the command prompt.
5-1-2 Packaging Using a Keystore File
We'll use an additional option when running the packaging script mentioned in 4-1 to specify a keystore file for signing the package. Below is an example of using that additional option.
python C:\crosswalk-10.39.235.16\make_apk.py --package=com.example.sample --manifest=manifest.json --keystore-path=C:\Users\IEUser\Desktop\sample.keystore --keystore-alias=release --keystore-passcode=password --keystore-alias-passcode=password
The keystore-path, keystore-alias, keystore-passcode and keystore-alias-passcode options have increased.
- --keystore-path
- Using keystore-path specifies the location of the keystore file with a file name.
- --keystore-alias
- Specifies the alias of the keystore file when it was created.
- --keystore-passcode
- Specifies the password of the keystore file when it was created.
- --keystore-alias-passcode
- Specifies the key password of the keystore file when it was created.
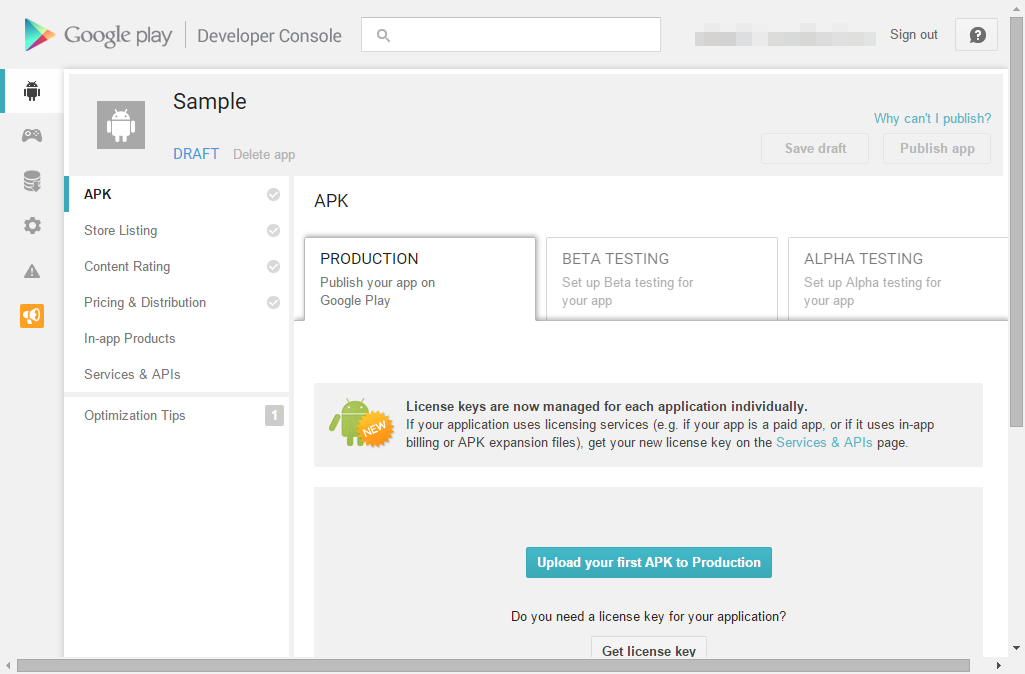
Upload the apk file that you created to the Google Play Developer Console to apply. Please be sure to follow the instructions on the Google Play Developer Console for other necessary images, etc.
A Word of Caution
- We are not responsible for any issues that may occur on your PC using the environment settings and command controls.
- We cannot guarantee that all Android game apps that you can develop using the methods we have introduced here will be published on Google Play.
- This information is current as of August 2015. Some of the images displayed here may differ as all the software used here is constantly being updated.
- If you have any questions regarding [App Submission to Google Play], please refer to Google Play Developer Help .